Trail notes High quality dog boots for hiking protect canine paws against jagged alpine scree, abrasive desert slickrock, frozen snow crust, and scorching ground temperatures exceeding one hundred twenty degrees. Boots require precise weight-bearing sizing, secure hook-and-loop closures, and a progressive break-in schedule to avoid gait restriction or friction blisters on backcountry treks.
Traversing rugged backcountry routes exposes canine paws to unforgiving terrain that can quickly wear through natural pad leather. While healthy paw pads are remarkably resilient, sharp volcanic basalt, razor-edged granite talus, sub-zero snow crust, and desert sandstone can cause painful pad tears, punctures, and thermal burns. Equipping your companion with purpose-built dog boots for hiking creates an essential barrier against debilitating trail injuries.
However, selecting and fitting canine footwear involves much more than buying miniature human hiking boots. An improperly sized boot can restrict circulation, chafe delicate dewclaws, or alter your dog’s natural gait biomechanics on steep mountain descents. Adhering to proven sizing methods, material evaluations, and gradual conditioning protocols ensures your pet moves comfortably and securely across every wilderness mile.
- Environmental Necessity: Boots are mandatory on sharp volcanic scree, ice crust, burr-heavy desert trails, and rock surfaces exceeding one hundred twenty degrees Fahrenheit.
- Weight-Bearing Measurement: Always measure canine paw width while the dog stands on a sheet of paper with full body weight loaded on the limb.
- Front vs. Rear Discrepancy: Canine front paws are often one half size larger than rear paws; select multi-size packs for an accurate fit.
- Dewclaw Protection: Wrap dewclaws with self-adhering cohesive bandage or canine socks to eliminate friction chafing from stiff boot cuffs.
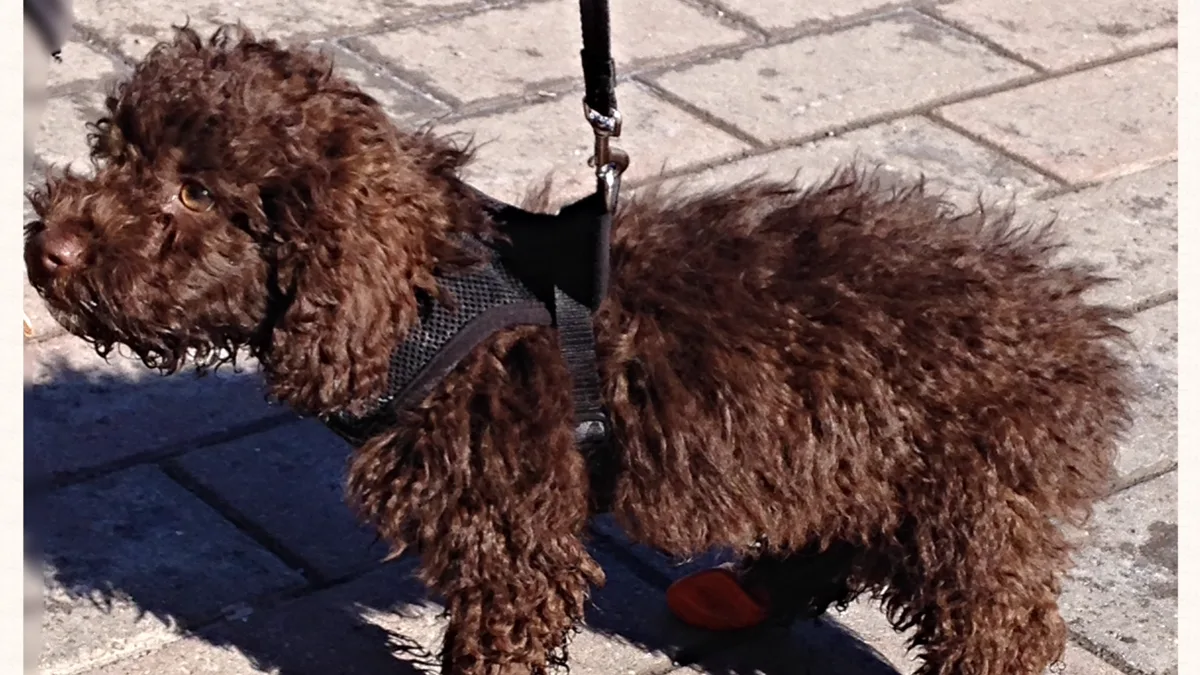
When Does Your Dog Actually Need Boots on the Trail?
Canine paws require protective boots under specific environmental conditions, including jagged rocky scree, hot rock surfaces above one hundred twenty degrees, sub-freezing snow crust, and desert trail sections thick with goathead burrs or cholla cactus spines.
Understanding these distinct environmental hazards helps you decide when to boot up:
- Sharp Mineral Scree and Granite Talus: Alpine hiking trails above tree line frequently cross loose scree, shale, and fractured granite. The razor-sharp edges of broken rock act like blades against soft interdigital webbing and paw pad margins, causing severe lacerations.
- Extreme Thermal Heat: High summer temperatures turn rock slabs, sandy riverbeds, and asphalt trailheads into scorching surfaces. When ambient air reaches eighty-five degrees Fahrenheit, direct sun exposure can heat rock past one hundred thirty degrees, causing second-degree pad blisters in minutes. For extreme thermal safety limits, consult our operational guide on how hot is too hot for dogs.
- Winter Snow and Ice Crust: Sub-freezing snowmelt creates abrasive crust that lacerates skin between toes, while wet snow packs into frozen balls inside pad fur. If you hike in sub-zero alpine conditions, reference our thermal thresholds on how cold is too cold for dogs to prevent hypothermia.
- Desert Burrs and Thorns: Sandburs, foxtails, and cactus spines penetrate deep into paw pads, leading to painful foreign body infections and emergency trail extractions.
For moderate dirt forest paths and loamy woodland trails, natural bare paws provide superior traction and tactile feedback. Reserve boots for harsh terrain where injury risk outweighs bare paw benefits.
How Do You Measure and Size Dog Boots for Hiking Accurately?
Measuring canine paws accurately requires placing your dog’s paw on a blank sheet of paper, lifting the opposite limb to force full weight bearing, marking the widest lateral points with a pen, and measuring the distance with a standard ruler.
Follow this exact four-step measurement protocol before purchasing footwear:
- Full Weight Bearing Stance: Place a piece of paper on a flat, hard floor. Have your dog stand squarely with all four feet on the ground. Lift the opposing paw off the floor so your dog places complete weight onto the paw you are measuring, allowing the pad to splay naturally.
- Trace the Widest Margins: Hold a fine-tip pen vertically against the widest outer edges of the left and right paw pad margins. Make two clear pencil marks on the paper.
- Measure the Width in Millimeters: Use a ruler to measure the exact distance between the two pencil marks in millimeters or inches. Compare this measurement against the manufacturer sizing chart.
- Measure Front and Rear Paws Separately: In most canines, the front paws are noticeably broader than the rear paws because front limbs support sixty percent of total body weight. Always measure both front and rear paws independently.
If your measurement falls squarely between two sizes, choose the smaller size for flexible fabric booties, or the larger size if you intend to use interior canine moisture-wicking socks.
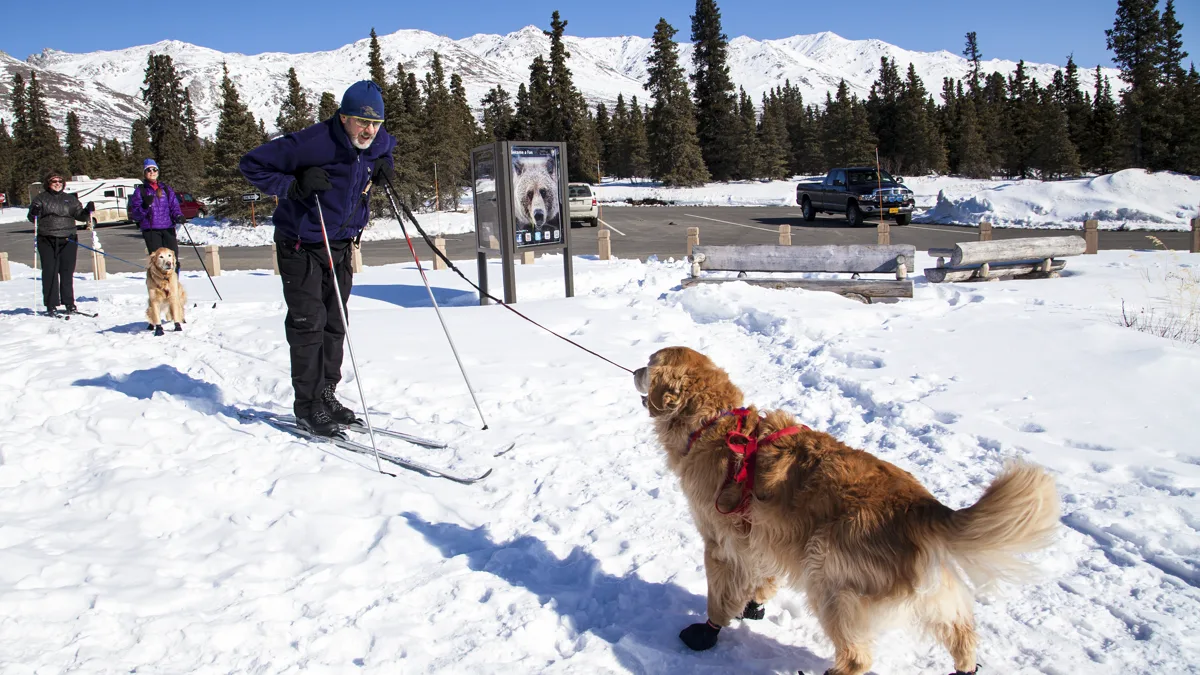
Comparing Boot Styles: Rugged Soles vs. Lightweight Booties
Selecting the right boot style depends on trail roughness, pack weight, and weather conditions. Backcountry hikers generally choose between two primary design philosophies:
Molded Vibram Rubber Sole Boots: These heavy-duty boots feature thick, lugged rubber outsoles similar to human mountaineering shoes, water-resistant cordura uppers, and double hook-and-loop ankle cinches. They deliver maximum puncture resistance against sharp rock edges and superior thermal insulation on hot desert rock. However, their rigid structure reduces natural paw splay and adds rotational weight to canine leg joints.
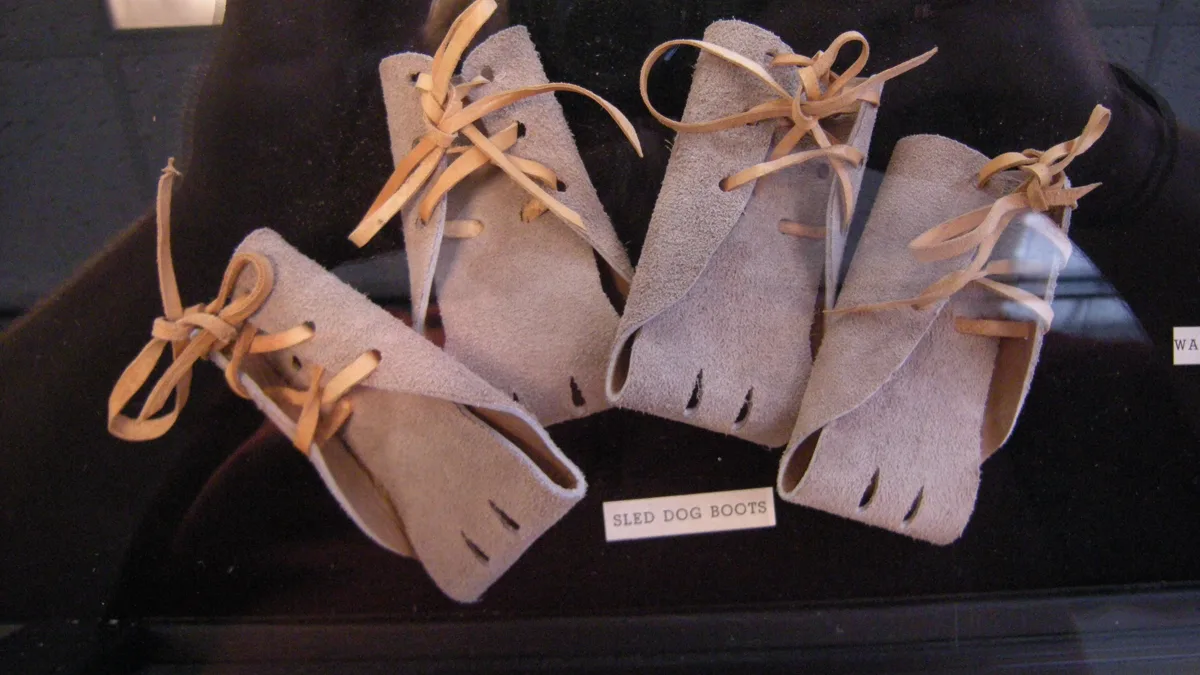
Lightweight Cordura Fabric Booties: Adapted from sled dog racing equipment, these soft fabric booties consist of high-denier ballistic nylon or Kevlar-reinforced cloth secured with an elastic hook-and-loop strap. They weigh less than an ounce each, allow full tactile proprioception and natural claw grip, and stow easily in a backpack. While they wear out faster on abrasive rock than molded soles, their exceptional comfort makes them ideal for snow pack, mud, and minor scree.
Combining boots with balanced pack weights keeps your dog agile across changing trail terrain. Review our foundational checklist for hiking with dogs to calibrate pack loads and daily mileage safely.
How Do You Break In Dog Boots and Prevent Trail Blisters?
Breaking in dog boots requires introducing the footwear indoors with positive treat reinforcement, practicing short ten-minute backyard walks, and taping sensitive dewclaws with self-adhering cohesive wrap before setting out on steep wilderness trails.
Execute this five-stage conditioning schedule to ensure trail readiness:
- Indoor Desensitization: Put boots on your dog inside the house. Dogs naturally perform a comical high-stepping dance initially as they adjust to the tactile sensation. Immediately toss high-value treats and encourage gentle walking across carpeted floors for five minutes.
- Neighborhood Pavement Walks: Take two or three fifteen-minute walks on neighborhood sidewalks. Check paw pads afterward for any signs of hot spots, redness, or localized moisture buildup.
- Dewclaw Taping Protocol: If your dog possesses low-set front dewclaws, wrap the lower leg joint with a layer of flexible cohesive bandage (such as Vetwrap) or slide a canine sock over the paw before strapping on the boot. This prevents the stiff boot collar from rubbing against the dewclaw.
- The Ten-Minute Trail Check: During your first mile on the trail, stop after ten minutes of hiking. Unfasten each boot to inspect pad condition, remove trapped sand grains, and re-tighten hook-and-loop straps that naturally loosen after initial flexing.
- Post-Hike Inspection and Balm: At the end of each hiking day, remove all boots, wash grit from interdigital spaces, and apply an all-natural canine paw balm containing beeswax and vitamin E to restore elasticity to pad tissue.
Terrain and Paw Protection Comparison Matrix
Use the following field reference to match specific outdoor terrain with the appropriate canine paw gear:
| Trail Surface Type | Primary Hazard | Recommended Footwear Type | Key Maintenance Step |
|---|---|---|---|
| Volcanic Scree and Granite | Pad cuts and lacerations | Molded Vibram rubber sole boots | Check for loose cuff straps every two miles |
| Packed Snow and Ice Crust | Abrasive ice and snow clumping | Cordura 500D sled dog booties | Inspect webbing for ice accumulation |
| Summer Desert Slickrock | Thermal contact burns (>120°F) | Breathable mesh boots with heat shields | Touch rock with bare hand for 7 seconds first |
| Desert Scrub and Cholla Zone | Spines, cactus thorns, sandburs | High-top puncture-resistant boots | Carry fine-tooth comb for thorn extraction |
| Loamy Dirt Forest Trails | Natural mud and moisture | Bare paws (natural pad traction) | Clean and apply paw balm post-hike |
Frequently Asked Questions About Dog Hiking Boots
Do all dogs need boots when hiking in the mountains?
No. Dogs with well-conditioned, toughened paw pads hiking on standard dirt, pine needle, or forest trails generally perform better with natural bare paws. Boots are specifically recommended when navigating sharp volcanic rock, jagged shale talus, frozen snow crust, cactus country, or scorching rock surfaces.
How tight should dog hiking boots be strapped?
Boots should be cinched snugly so they do not twist or slip off during movement, but loose enough to avoid restricting blood circulation. You should be able to slide the tip of your index finger comfortably between the fastened boot cuff and your dog’s leg.
Why do dogs walk funny when first wearing boots?
Canines rely heavily on sensory nerve receptors located inside their paw pads to evaluate ground texture and limb positioning. Boots temporarily disrupt this tactile feedback, causing the dog to exaggerate leg lift. With positive reinforcement and movement, most dogs adapt within five to ten minutes.
What should I do if a boot rubs my dog’s dewclaw raw?
If friction develops around the dewclaw, immediately remove the boot, clean the area with mild antiseptic, and wrap the lower limb in a soft canine sock or layer of flexible cohesive bandage before replacing the boot. If skin is broken, rest the limb and leave the boot off until healed.
How we researched this guide: We evaluated canine biomechanics studies, consulted backcountry veterinary guidelines from the AVMA, and conducted multi-mile field trials on volcanic scree and alpine snow routes to develop these paw protection standards.
About the Author and Field Testing Standards
Cole Brandt is an outdoor canine travel specialist and obedience researcher dedicated to advancing responsible pet hospitality. Every gear review, sizing protocol, and backcountry safety checklist published on The White Santorini is developed in accordance with veterinary sports medicine guidelines and tested on demanding wilderness trails.